Operation Name: Hammer and Anvil
Situation: The Mawties of the South-west have been so much trouble that the king has personally hired us to shift our focus elsewhere. We'll be meeting with the king so he may give us this briefing in the rare case that none of you read it. In short, a select of the Mawties have been found raiding outside the occupied territory. Those few have been lead by three raid leaders who have bounties we must take.
Mission: Eliminate the three Mawt raid leaders
Execution: The squad will first meet with the king in order to be briefed on the details of the operation. Afterwards, he will assign you an LZ near the Mawt occupied borders. It is imperative that you do not fly into the occupied territory. The Mawties are unpredictable and like to attack hidden in plain sight We will advance on foot to the areas we know the raid leaders are located in. Using the training some of us learned, we will eliminate the leaders and return to the king. In order to prove our bounties, we will need to take and present their stylish officer caps before the king
Enemy Intelligence: The Mawties are equipped with poorer armor and small arms in comparison to the BLA. However, the Mawties use modern guerilla tactics. Often, they hid between the civilians, hide AS the civilians, set up counter attacks, and, most importantly, hide explosives (IEDs and Mines) in the sand. Expect the Mawt firepower to be weaker than the BLA's but their tactics far superior. Thus, expect small arms, ambushes, weak armor, hidden explosives, and motorized infantry.
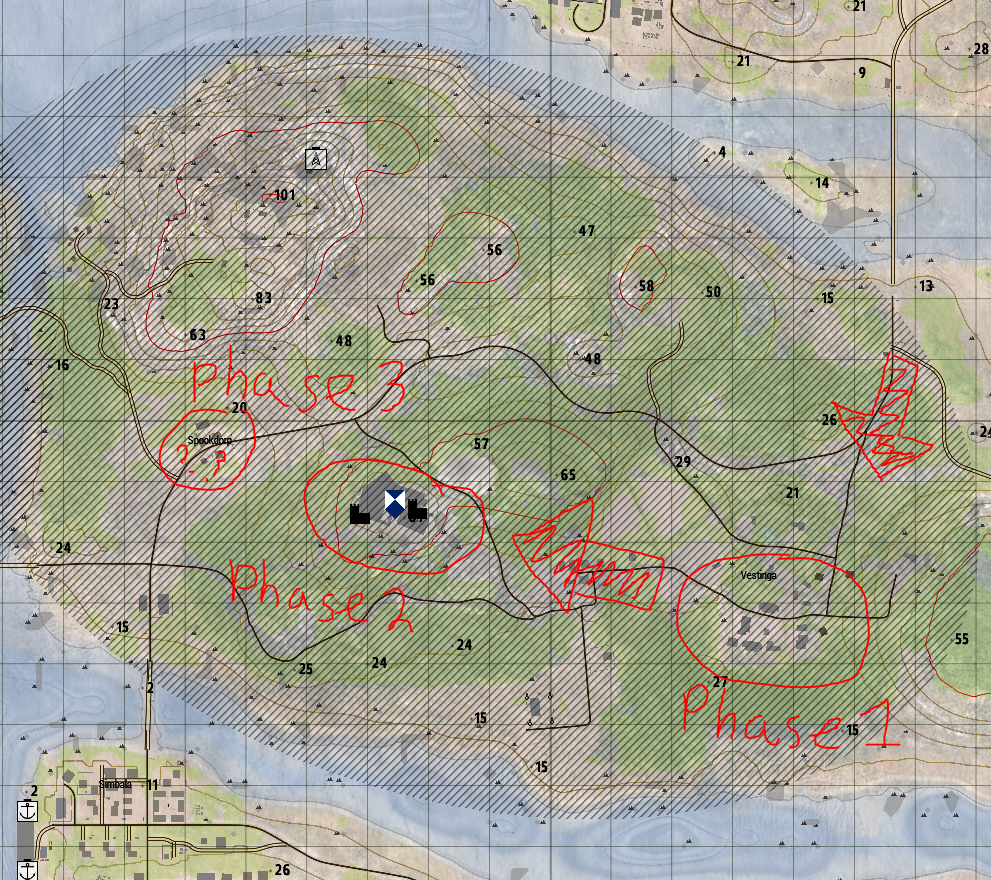
Leader Locations Circled in Red:
Note: The location of the leader in Phase 3 is unknown. Leader 3 may be outside the circled area.
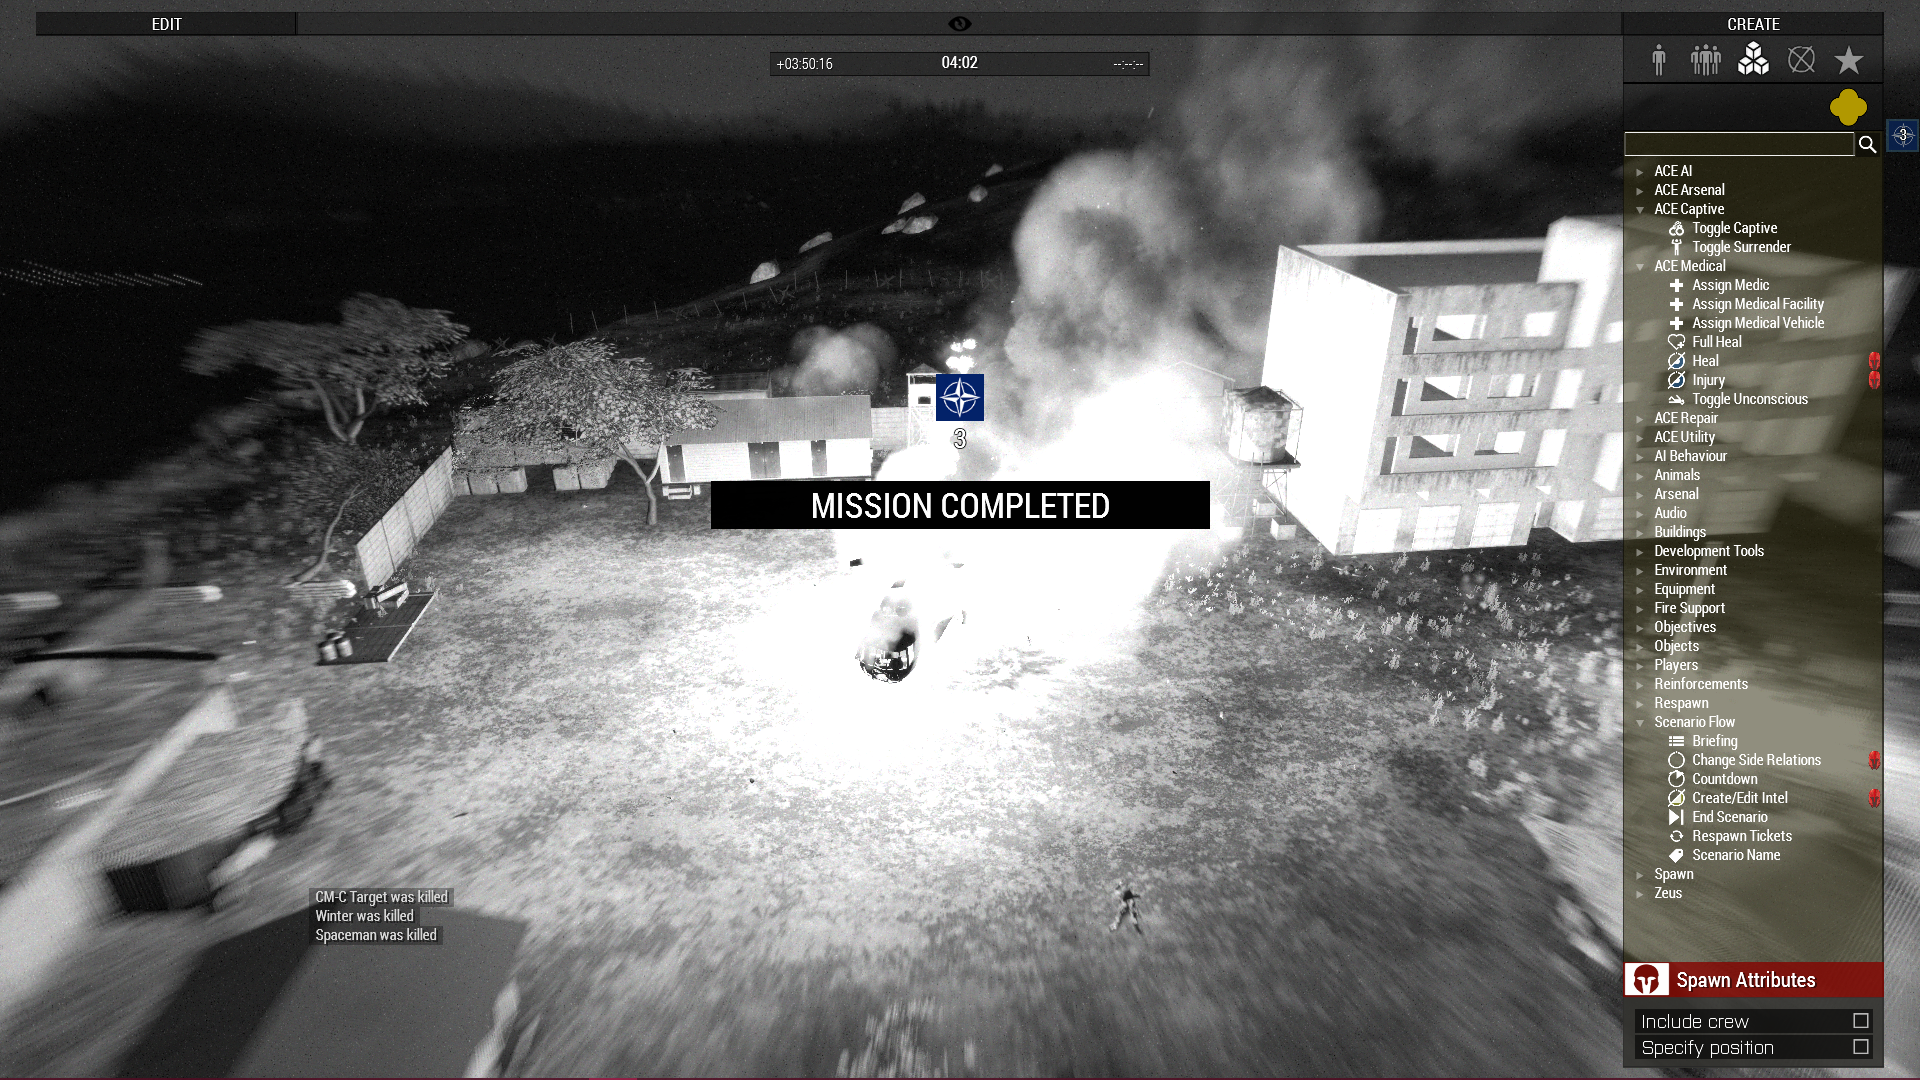
Operation Result:
The three raid leaders are killed and the king is saved in the counter attack.